


Help article
What preparations are required to obtain an IPA for publication in the Apple AppStore?
In order for us to build a so-called IPA for you, i.e. your app for the Apple AppStore, there are a few steps to follow. Unlike an Android APK, more than app title and icon are necessary here.
1. Visit the Apple developer portal
To do this, click on the https://developer.apple.com/ link. Then right click on Account and sign in with your Apple Id.

You will only be able to see the following items if you have a fully activated account with Apple, i.e. you have paid the 99 EUR and the account has been approved by an Apple employee.
When you first create an IPA, you still need to follow all the steps. In the later course, if e.g. a new IPA is to be built, certain periods (usually a year) since the last follow these steps have passed, if isolated steps in somewhat modified form again necessary.
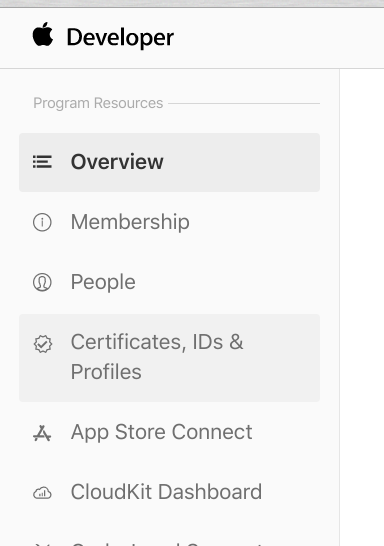
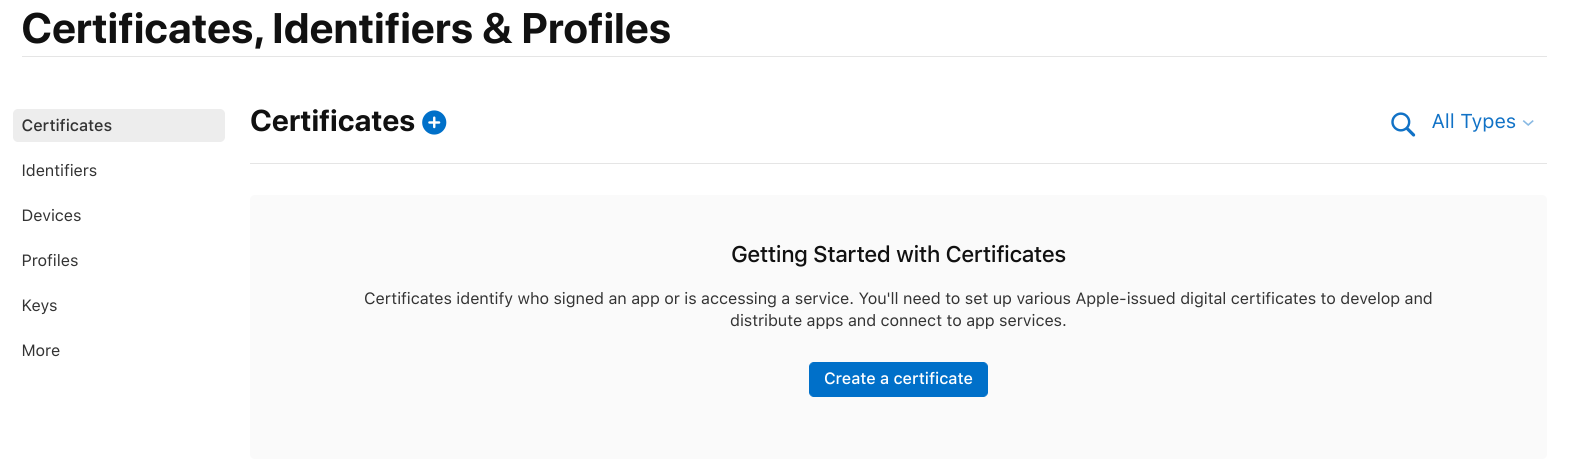
2. Create a developer certificate
Using "Certificates, IDs & Profiles" will take you to the relevant section.
Click on "Create a certificate".
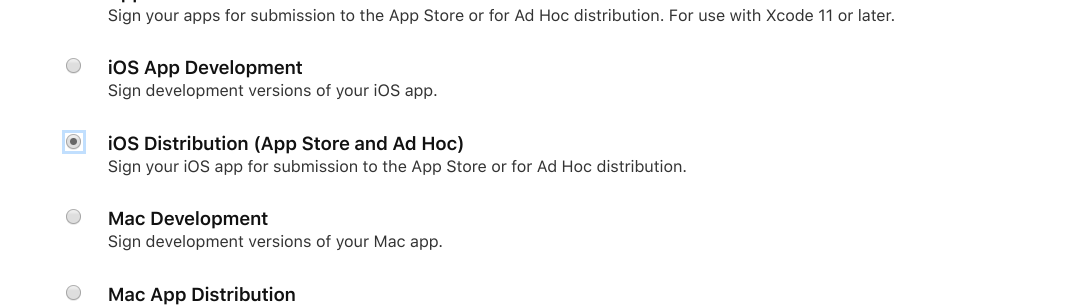
Select the "iOS Distribution ..." item and click the blue "Continue" button in the top right corner.
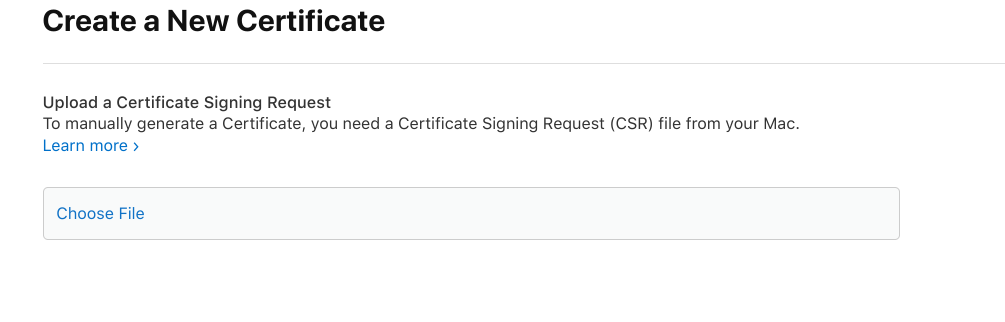
Use "Choose File" to select and confirm the file we sent you (general.csr). As well as again click on the blue "Continue" button in the top right corner.
To finish the second step, it is now still enough to download the generated certificate. This is done via "Download"

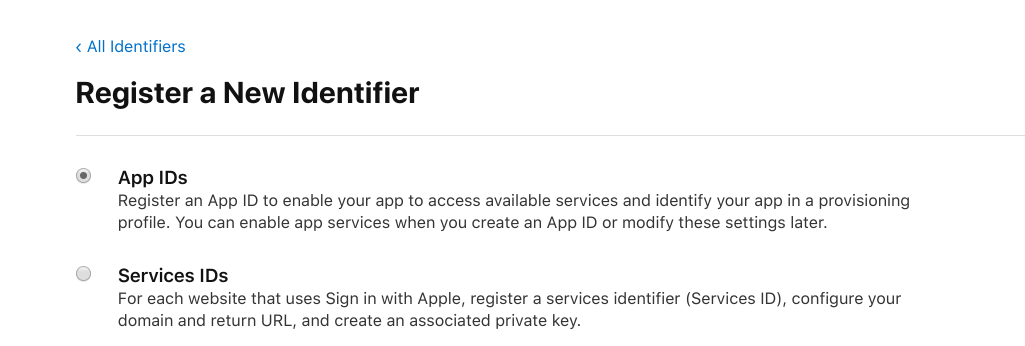
3. Create an app ID and push certificate
Select the "App IDs" item and click "Continue" on the right side
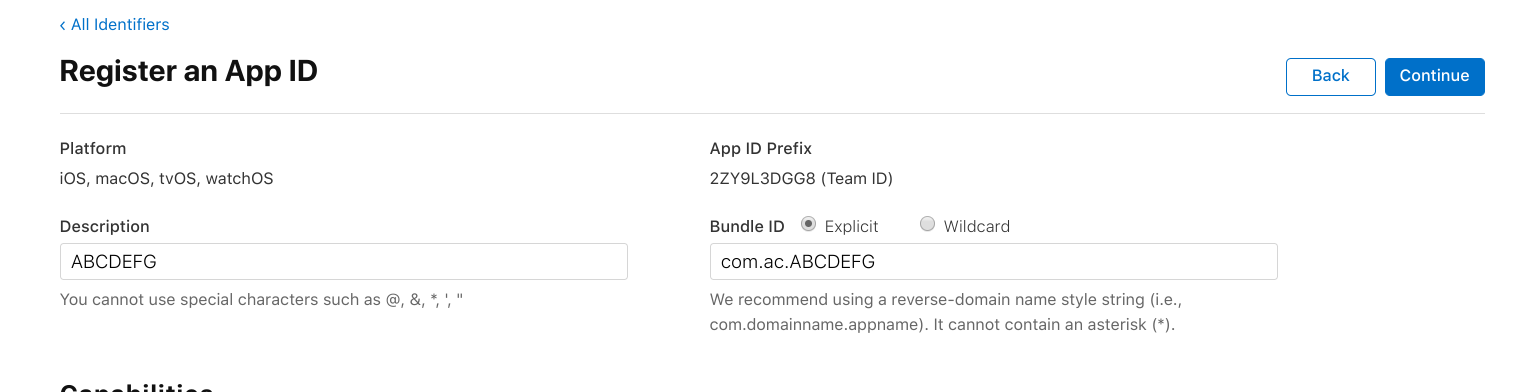
In the "Description" and "Bundle ID" fields, insert the labels we shared.
Before clicking further, scroll down beforehand and select the "Push Notifications" item.

Then click on "Continue" on the right and "Register" shortly thereafter.
The entry you created should now appear in the list, so you can click on it again.
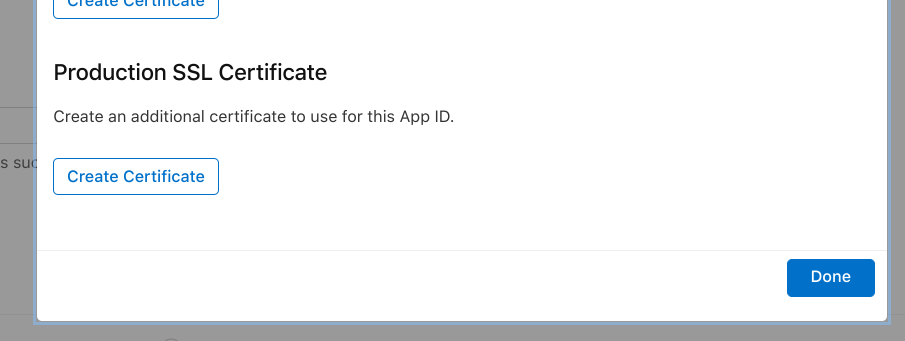
If you now scroll down there is a button "Configure" next to the item "Push Notification". Please click this.

Under "Production SSL Certificate", select the "Create Certificate" item.
Using "Choose File" also select the already above mentioned file general.csr and confirm. Continue via the right button and click "Download" in the same place to download.

To complete this step, click on the small "All Certificates" link this time.
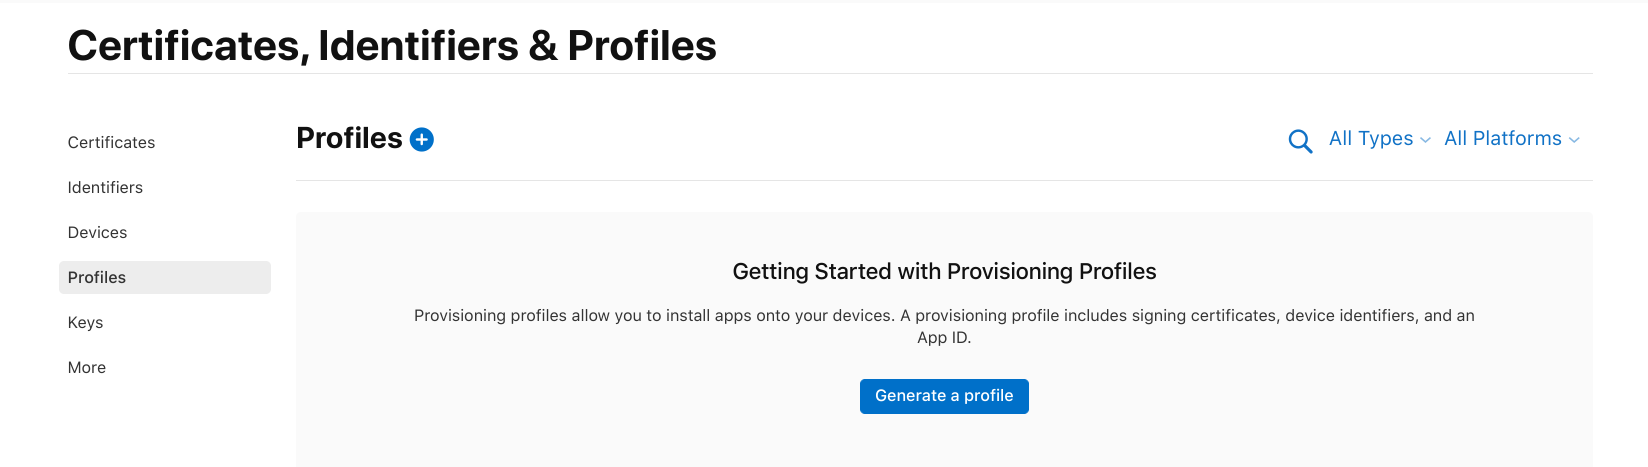
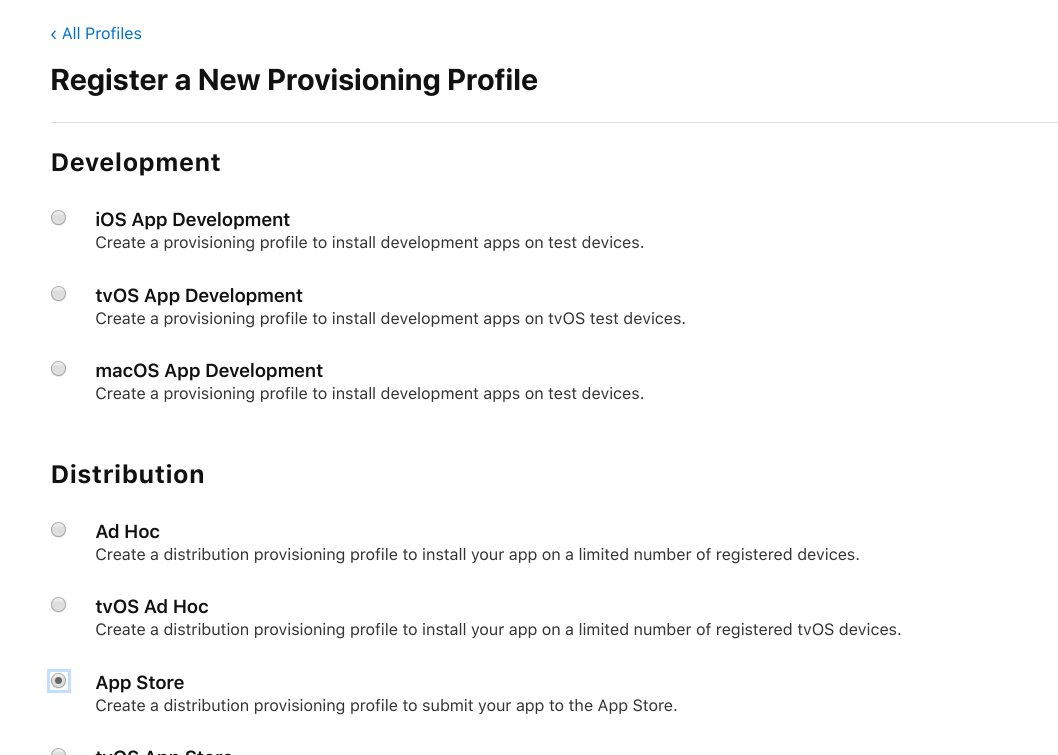
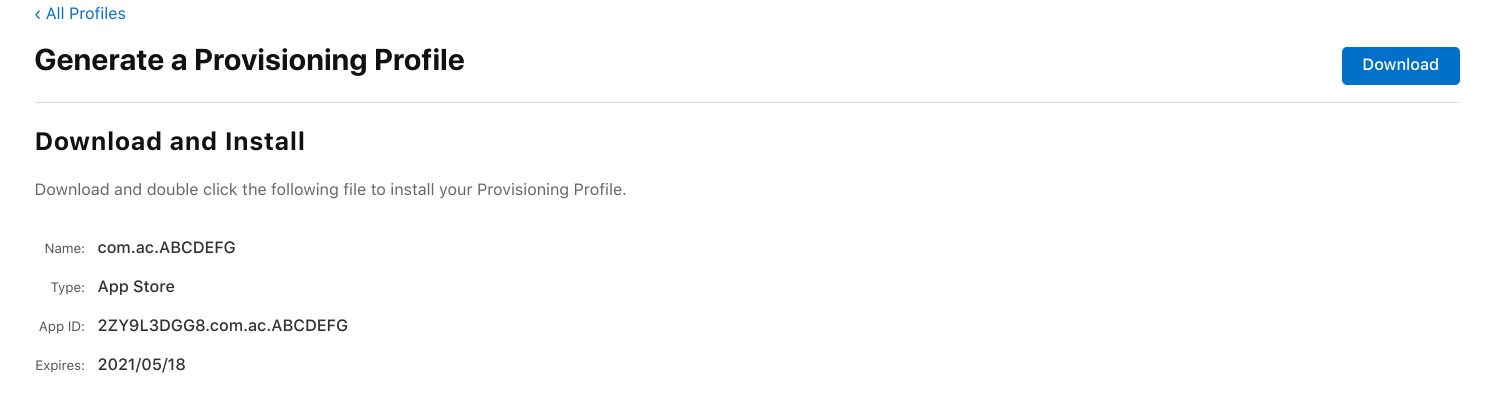
4. Finally, create a Provision Profile
In the last step, you still need to create a so-called "Provision Profile". This is done by clicking on the left item "Profiles" and then on "Generate a Profile" or the small blue plus.
Select the "App Store" item under "Distribution" and right click "Continue".
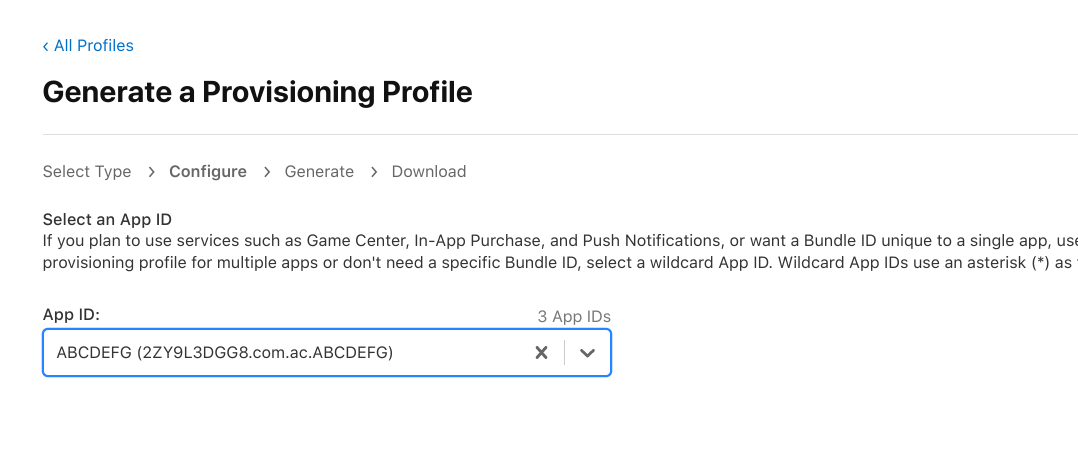
Select the created entry with the same name in the "App Id" selection box and go to "Continue".
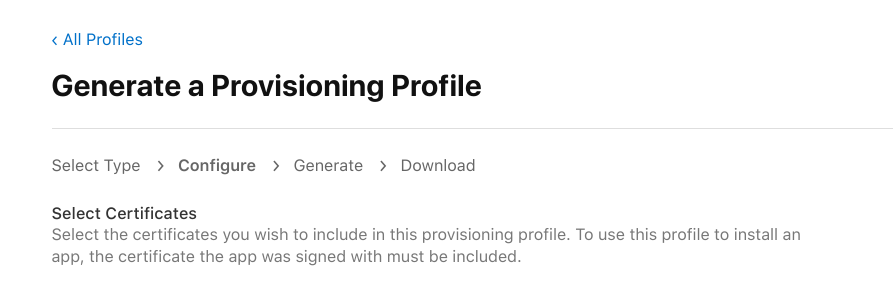
At "Select Certifcates" mostly select the current and only entry and continue via right.
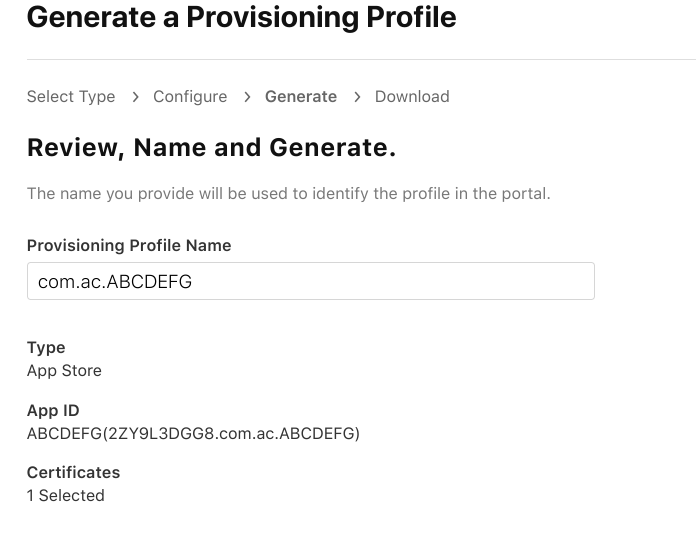
In the "Provisioning Profile Name" field, paste the provided information and use "Generate" in the right pane to create a profile.
And last but not least, confirm via the blue "Download" button.
You can now return the three created file to us in the form of a reply to our email. We will then use this to build the IPA you want and provide it to you.
Later on, you can then upload this IPA to Apple for testing, for example, via the Mac OSX application "Transporter" and beforehand, of course, create an app entry with description, screen shots, etc. in the downstream developer portal "AppStore Connect". More details, learn in the instructions at Apple itself.
Should this seem too complicated to you, we take over this work for you separately. Just contact us via the live chat.